Ingredients
~ 1 teaspoon sugar
~ 1 cup lukewarm water
~ 1 teaspoon dried active yeast
~ 1 1/4 cups rice flour
~ 3/4 cup potato starch, extra for dusting
~ 1/2 cup tapioca flour
~ 1 teaspoon xanthan gum
~ 1 teaspoon salt
~ 1 Tablespoon olive oil
~ 1 egg
Directions
1. Preheat your oven to 500 ° F
2. Add your flours, salt, and xanthan gum in a bowl and mix well.

3. In a second bowl, add yeast, sugar, and lukewarm water. Wait about 5-10 until the yeast has "proofed."
4. Add to this(yeast mixture) the olive oil and egg and mix well.

5. Form a well in the center of your flour mix and add the liquid gradually, incorporating it into the flour.
6. Continue to mix until the ingredients form a dough ball.(I use a Kitchenaid)
7. Remove dough from bowl and knead lightly on a dusted(with potato starch) board. This ensures the dough is thoroughly mixed.

8. Put the dough back in the bowl, cover with a tea towel, and place somewhere warm for 20-30 minutes to allow the dough to rise.(It will not double in size like wheat dough, but it will poof up a little.)
9. After the dough has been allowed to rise and divide the dough in half.
10. Flatten out the dough using your hands or a rolling pin. You want the dough to be about 1/4 inch in thickness.

10. Add a sauce(I use tomato but you can use pesto, olive oil, or anything you have on hand.)
 |
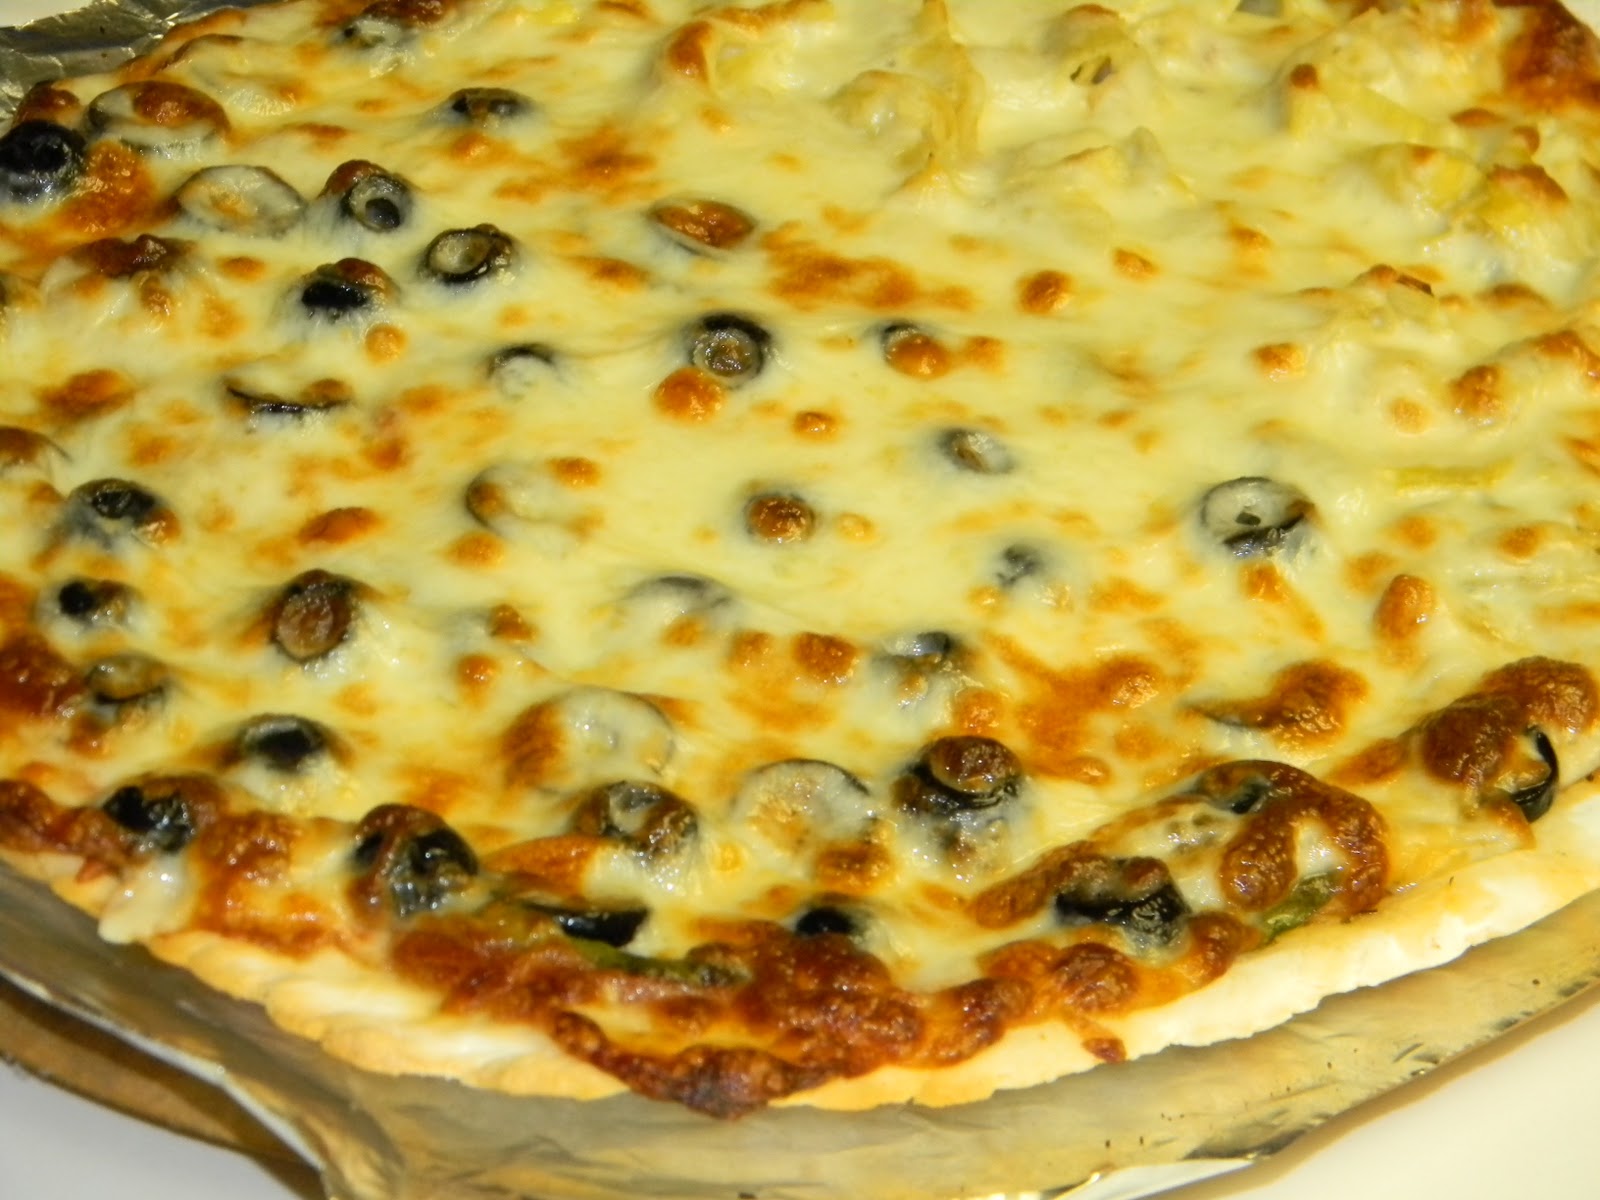
| Pepperoni with spinach, olives, and artichoke hearts |
 |
| Meatballs(recipe coming soon), olives, spinach/vegetarian pizza on other half |
11. Add your toppings. I have even made this recipe to make a dessert pizza. I put apples, cinnamon sugar, and butter.
12. Cook on a preheated pizza stone for 8-10 minutes or until the cheese starts to bubble and brown.(you can put the pizza directly on the stone or on foil for easy clean-up)
13. Enjoy!


